Updated (originally published )
Getting started with Sapper and Svelte
Update: Sapper is no longer maintained - it never reached 1.0 and the Svelte team officially retired it in favour of SvelteKit, which shipped 1.0 in December 2022 and is now on version 2, built around Svelte 5 and its runes-based reactivity. If you’re starting a new project today, use SvelteKit. I’ve kept the walkthrough below intact as a historical snapshot of how Sapper worked - most of the component code still translates directly - and added a section at the end mapping each Sapper concept to its SvelteKit equivalent.
Introduction
All of the code from this tutorial can be found here
You can see the statically rendered version of what we’ll build running here
One of the biggest issues with developing JavaScript with a framework is the performance tax. A simple application can leverage only a small proportion of the frameworks functionality but the entire framework is downloaded, parsed and executed on user’s devices making it difficult to keep the application performant and lightweight. There is absolutely a time and a place for frameworks such as React and Vue but consideration needs to be given as to when using them is appropriate.
Svelte
A friend of mine introduced me to Svelte and the approach impressed me. Instead of doing a lot of work in the browser inside a virtual DOM, Svelte is a compiler step, meaning the code is compiled to efficient vanilla JavaScript when the project is built. It results in a considerably lighter load whilst also being able to leverage useful functionality such as reactivity which might be why you’re choosing to use a framework in the first place.
I used it for the first time to build a basic application to list and filter all of the companies in my hometown of Brighton offering delivery during the COVID lockdown. The site itself is (thankfully) no longer needed and has been taken down, but you can find the code here.
Sapper
For my application, I wanted to either server or statically render it. I initially opted for server rendering because I was using a Google Sheet as a database and wanted the data to be up-to-date. I later migrated to statically rendering and hooked it up to Netlify as I was only updating the spreadsheet a couple of times a week and this would be a much more performant approach for users who were predominantly consuming the site on mobile devices. For both of these approaches I used Sapper. The concept is simple:
- Each page of your app is a component
- You create pages by adding files to the
src/routesdirectory of your project. These will be server-rendered so that a user’s first visit to your app is as fast as possible, then a client-side app takes over
Source: https://sapper.svelte.dev/docs#What_is_Sapper
It also takes care of code-splitting, has a pre-configured service-worker and supports client-side hydration. You don’t need to mess around with configuring it, everything you need runs out of the box.
Getting started
For this article, we’ll build a basic statically rendered TODO application with client-side filtering. To start with, let’s get started with the pre-configured sapper template. (A reminder that this is the historical Sapper flow - for a new project today you’d run npx sv create instead; see the SvelteKit section at the end.) Run the following commands:
# Feel free to replace sapper-demo with whatever you want to call your project
npx degit "sveltejs/sapper-template#rollup" sapper-demo

cd sapper-demo

npm install # or yarn install
Open the directory in your IDE of choice and you’ll see we have some basic tooling and scaffolding for our application:
cypress- cypress end-to-end testssrc- our working directorystatic- the static files (images, manifest file etc.)
If we have a look inside the package.json file, we have a bunch of pre-configured scripts:
dev- local development and watchersbuild- compile for server renderingexport- statically rendered buildstart- local servertest- cypress tests
From the root directory, run:
npm run devVisit http://localhost:3000/ and you should see a nice picture of Borat:
Clean-up
There’s a lot of stuff here we don’t need. Let’s start with the static directory: remove the borat image, replace the icons and make the manifest file meaningful. Open global.css and add some resets for our lists:
ul {
	padding: 0;
	margin: 0;
	list-style: none;
}

li {
	margin: 0;
}
Go to the src directory and remove the blog (from routes) directory and everything in it.
Open index.svelte and delete all of the markup, JS and CSS but leave the file.
Navigation
Open components/Nav.svelte and remove everything in the file (we’ll add it back bit by bit).
Let’s start with the script tag. We’re going to pass a property to this file called segment, which will be the route of the page we’re on, we can use this for highlighting which page the user is currently visiting:
<script>
	export let segment;
</script>
Add some basic markup for a logo and navigation:
<div>
	<header>
		<svg width="50" height="36" xmlns="http://www.w3.org/2000/svg"><path d="M49.493 10.155a1.26 1.26 0 00-1.53.005l-13.16 10.045L26.164.69c-.41-.92-1.916-.92-2.326 0L15.1 20.433 2.054 10.172a1.269 1.269 0 00-1.968 1.457L9.15 35.044a1.268 1.268 0 001.183.81h29.335a1.263 1.263 0 001.184-.81l9.062-23.415a1.268 1.268 0 00-.421-1.474zM38.798 33.314H11.204L4.126 15.032l10.69 8.404c.308.244.707.327 1.092.238a1.278 1.278 0 00.856-.721l8.238-18.61 8.129 18.363a1.275 1.275 0 001.936.497l10.859-8.291-7.128 18.402z"/></svg>
		<h1>Sapper Demo</h1>
	</header>

	<nav>
		<ul>
			<li><a href="/">Listings</a></li>
			<li><a href="about">About</a></li>
		</ul>
	</nav>
</div>
Navigation Highlighting
Now use the segment variable we added earlier to dictate whether we’re on the current page:
<li>
    <a href="/" class='{ segment === undefined ? 'current' : '' }'>
        Listings
    </a>
</li>
<li>
    <a href="about" class='{ segment === 'about' ? 'current' : '' }'>
        About
    </a>
</li>
Here we’re checking the value of segment and are adding the current class if it matches the route.
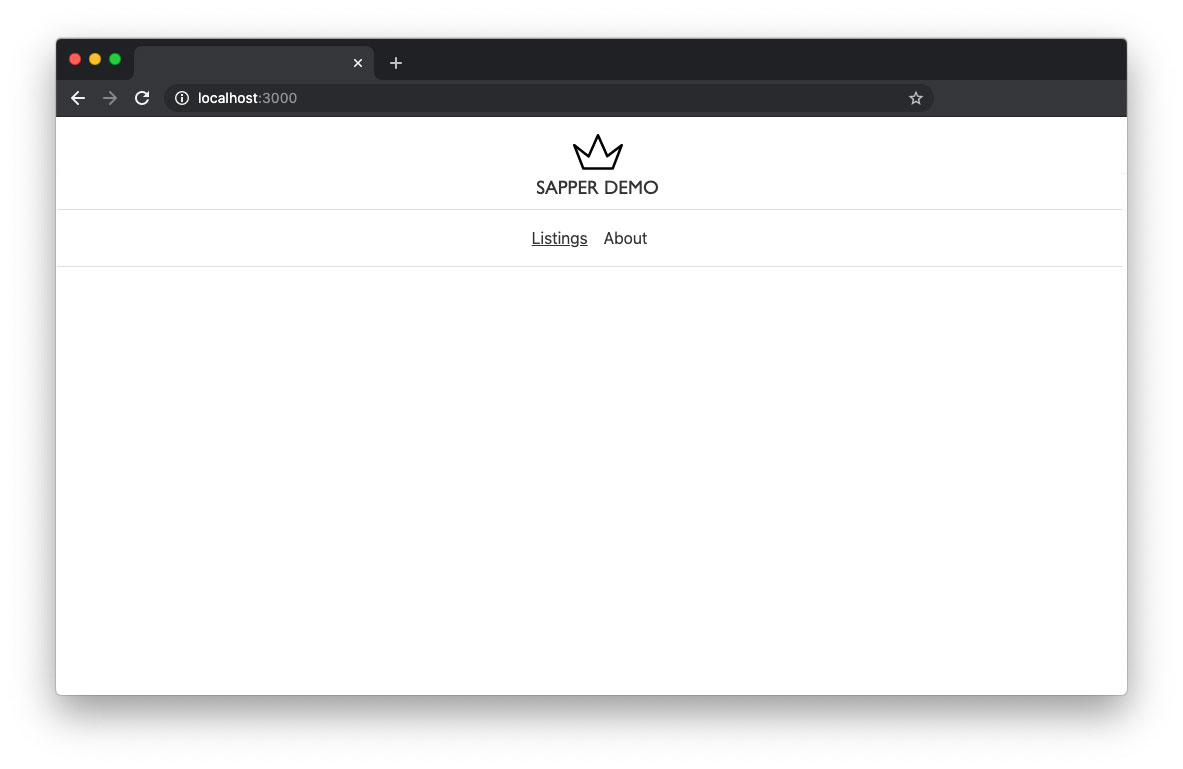
Styling
Styling declared in the component is by default scoped to the component so we don’t need to worry about the styling defined here affecting anything else on the page. Below the markup add some basic styling:
<style>
	div {
		display: flex;
		flex-direction: column;
		padding-top: 1rem;
		text-align: center;
	}

	h1 {
		font-family: 'Gill Sans', 'Gill Sans MT', Calibri, 'Trebuchet MS', sans-serif;
		font-size: 1.2rem;
		text-transform: uppercase;
	}

	ul {
		border-bottom: 1px solid #dfdfdf;
		border-top: 1px solid #dfdfdf;
		display: flex;
		justify-content: center;
		padding-bottom: 1rem;
		padding-top: 1rem;
	}

	li {
		margin-right: 1rem;
	}

	a {
		text-decoration: none;
	}

	.current {
		text-decoration: underline;
	}
</style>
Your page should now look something like this:
Aside: Routing
Note: Routing in Sapper is simple, just ensure you either have a svelte file or directory inside routes. As an example:
// Outputs /articles
routes/articles.svelte

// Outputs /posts
routes/posts/index.svelte

// Dynamic route - outputs /posts/foo
routes/posts/_slug.svelte
Listings
We’ll leave the About page as it is and focus on fetching some data from an API. We’ll then add some basic filtering client-side.
Create a three new components in the component directory:
Listings.svelteCard.svelteFilters.svelte
Open index.svelte, import our listings and declare a data variable (we’ll use this later):
<script>
	import Listings from '../components/Listings.svelte';

	export let data;
</script>

<Listings />
Getting the data
We’re going to fetch the data in index.svelte and pass it through to the components.
Firstly, let’s add a context="module" script tag which means the code will execute when the file first evaluates rather than when it’s instantiated:
<script context="module">
    export async function preload() {

    }
</script>
Inside the method, make the call to fetch our data and bind it to the data variable we declared earlier:
const response = await this.fetch('https://jsonplaceholder.typicode.com/todos');
const responseJson = await response.json();

return {
    data: responseJson
}
Now pass this data to our listings component:
<Listings todos={ data } />Outputting the data
Now that we have our list of TODOs, let’s output them inside our listings component. Inside Listings.svelte declare the variable we passed in:
<script>
export let todos;
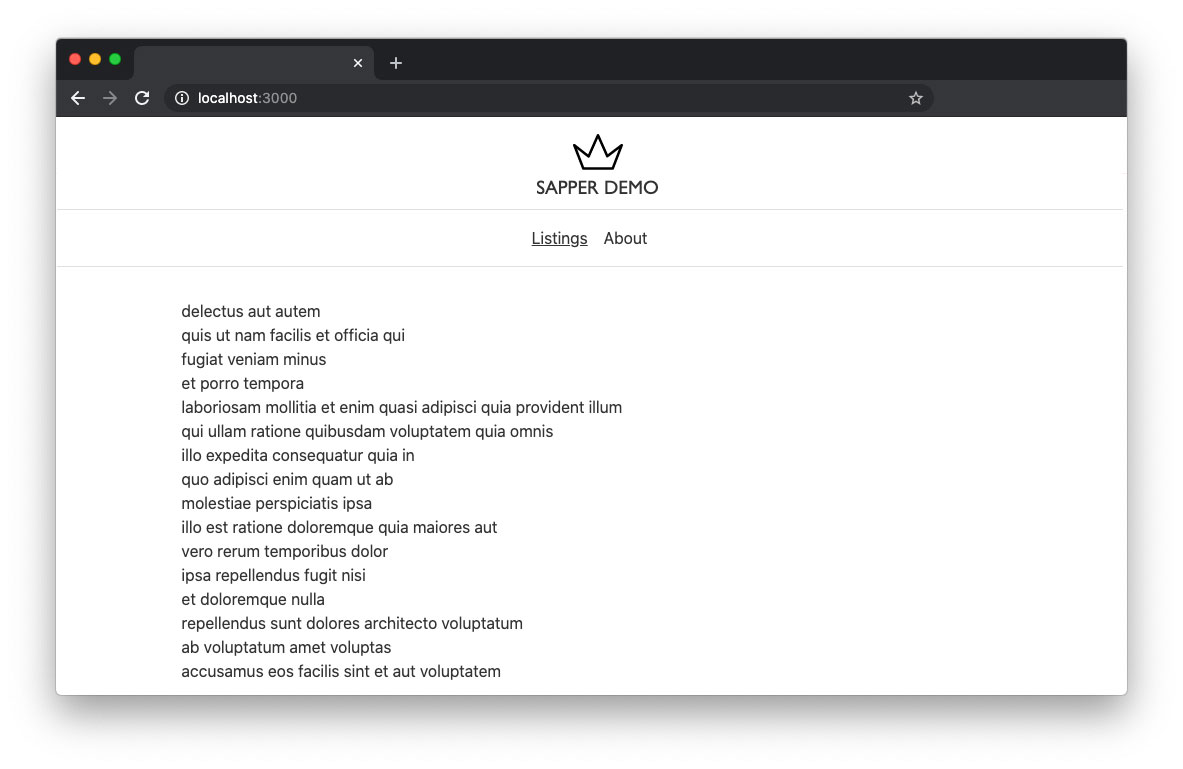
</script>In its simplest form, we can now iterate over this array and output it on the page:
<ul>
    {#each todos as todo}
        <li>{ todo.title }</li>
    {/each}
</ul>
You should now see a list of the TODO titles:
Making our card
We could of course add our markup and styling here but the component could become easily bloated so let’s break it out into smaller components.
Seeing as this is a list of todos, let’s make it look like one. Import your Card.svelte component to the Listings.svelte and pass through the todo data like this:
<script>
    import Card from './Card.svelte';

    export let todos;
</script>

<ul>
    {#each todos as todo}
        <Card data={ todo } />
    {/each}
</ul>
Now in Card.svelte declare the data variable and structure some markup:
<script>
    export let data;
</script>

<li>
    <span class="status">
        {#if data.completed}
            <svg width="20" height="20" xmlns="http://www.w3.org/2000/svg"><path d="M10 19.993c5.523 0 10-4.474 10-9.993C20 4.48 15.523.007 10 .007S0 4.48 0 10c0 5.52 4.477 9.993 10 9.993z" fill="#32BEA6"/><path d="M9.198 15.316L4.47 11.632l1.344-1.725 2.904 2.262 4.792-6.915L15.308 6.5l-6.11 8.816z" fill="#fff"/></svg>
        {:else}
            <svg width="20" height="20" xmlns="http://www.w3.org/2000/svg"><path d="M10 0C4.486 0 0 4.486 0 10s4.486 10 10 10 10-4.486 10-10S15.514 0 10 0z" fill="#F44336"/><path d="M13.682 12.504a.833.833 0 11-1.178 1.178L10 11.178l-2.504 2.505a.83.83 0 01-1.179 0 .833.833 0 010-1.179L8.822 10 6.317 7.496a.833.833 0 111.179-1.179L10 8.822l2.504-2.505a.833.833 0 111.178 1.179L11.178 10l2.504 2.504z" fill="#FAFAFA"/></svg>
        {/if}
    </span>
    <span class="title { data.completed ? 'completed' : '' }">{ data.title }</span>
</li>
Add some basic styling to make it look a little neater:
<style>
li {
align-items: flex-start;
display: flex;
margin-bottom: .5rem;
line-height: 1.2;
justify-content: center;
}
.status {
margin-right: 10px;
}
.title {
width: 300px;
}
.completed {
color: #666;
text-decoration: line-through;
}
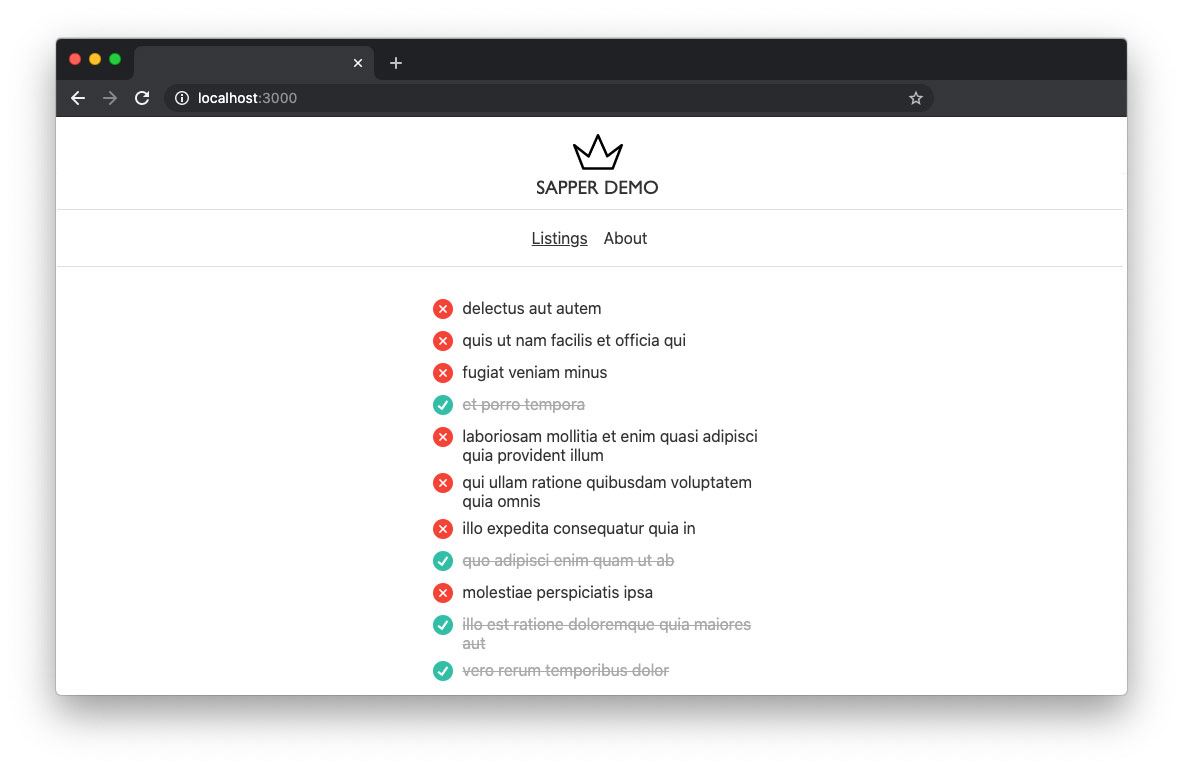
</style>Your list should now look like this:
Making a filter
Now we have our list looking neat, let’s add a filter so we can toggle between complete and incomplete items. Open your Listings.svelte component again and import the filter component:
import Filters from './Filters.svelte';Above the <ul>, call the component:
<Filters />Open up Filters.svelte and add some basic markup and styling:
<div>
	<label for="filter">Filter:</label>
    <select id="filter">
        <option value="all">All</option>
        <option value="incomplete">Incomplete</option>
        <option value="complete">Complete</option>
    </select>
</div>

<style>
	label {
		font-size: .8rem;
	}

    div {
        padding-bottom: 1.5rem;
        margin: 0 auto;
        width: 330px;
    }

    select {
        width: 100%;
    }
</style>
Filter functionality
We have our filter looking visually ready but it doesn’t actually do anything.
The first thing to do is pass the value of the filter component back up to the listings component where we can start to filter the data (it will flow down to the components). Add our default value for the select box and create an updateFilter method with a simple dispatcher:
<script>
    import { createEventDispatcher } from 'svelte';

    const dispatch = createEventDispatcher();

    let selected = 'all';

    function updateFilter(event) {
        dispatch('updatefilter', selected);
    }
</script>
Now bind the default value and events to the select box:
<select id="filter" bind:value={ selected } on:change={ updateFilter }>Great, we’ve dispatched our event, we’re now ready to catch it in the parent Listings.svelte component. Alter the filter component to catch any change to the select box and set which method we’re going to call:
<Filters on:updatefilter={ filterValue } />In the <script> segment, define our filter method:
function filterData(event) {
    console.log(event.detail);
}
This will output the selected value. Let’s redefine the data we’re passing into the cards; below the todo variable declaration add a new variable to hold our filtered content and define it as the default todos data:
export let filteredContent = todos;Use this instead of the todo variable to list the data:
{#each filteredContent as todo}
    <Card data={ todo } />
{/each}
When we manipulate the filteredContent array, it will automatically update the list of cards so let’s add some simple logic to our filterData method:
function filterData(event) {
    // Show all data
    if (event.detail === 'all') {
        filteredContent = todos;
    // Only show completed items
    } else if (event.detail === 'complete') {
        filteredContent = todos.filter(item => item.completed);
    // Only show incomplete items
    } else {
        filteredContent = todos.filter(item => !item.completed);
    }
}
You should now see your list of data filtering. That was pretty easy!
Rendering
Now we have a basic application, we’re ready to statically render it. As I said before, Sapper will do all of this heavy lifting for us so all we need to do it run:
npm run exportIf you look inside __sapper__, you’ll see a directory called export - this contains all of our statically generated code.
If you wanted to server render the application, you could do so by simply running:
npm run buildIf you look inside __sapper__ you’ll see a build directory, this is the code we can use to run our project server-side.
Statically deploying to Netlify
If you’d like to host your static build on Netlify, it’s extremely simple:
- Log in to your Netlify account
- Create a new site from Git and select your repository
- Select your branch
- Set the build command as
npm run export - Set the publish directory as
__sapper__/export
Wrapping up
I’ve only touched the surface of what you can achieve with Svelte and Sapper but hopefully it gives you an insight as to how easy it is to build a basic application. I found the developer experience working with Sapper and Svelte excellent - it’s intuitive to write and does a lot of the heavy lifting for you.
All of the code from this tutorial can be found here.
You can see the statically rendered version running here.
Starting today? Use SvelteKit
As mentioned at the top of the post, Sapper has been retired and SvelteKit is its successor - same ideas, properly finished. The good news is that almost everything in this tutorial maps across cleanly. The component code - the markup, the {#each} blocks, the scoped styling - carries over with barely any changes; it’s the framework chrome around it that’s different:
- Scaffolding:
npx degit "sveltejs/sapper-template#rollup"becomesnpx sv create my-app, which will also offer you TypeScript, Prettier, Playwright and friends along the way. - Routing: still file-based in
src/routes, but each route is now a directory containing a+page.sveltefile - soroutes/about.sveltebecomesroutes/about/+page.svelte, and the dynamicroutes/posts/_slug.sveltebecomesroutes/posts/[slug]/+page.svelte. See the routing docs. - Data fetching: the
preloadfunction in<script context="module">becomes aloadfunction in a+page.jsfile alongside your page, and the data arrives as adataprop. - The
segmentprop: for highlighting the current navigation item, you’d now read the current path frompagein$app/state. - Static export:
npm run exportbecomes@sveltejs/adapter-staticwith prerendering enabled - and Netlify will detect a SvelteKit project automatically, so deployment is even less work than it was with Sapper. - Svelte 5: component props are now declared with
let { data } = $props()rather thanexport let data, andcreateEventDispatcheris deprecated in favour of passing callback functions as props. Reactivity is handled by runes like$stateand$derived.
If this post sparked your interest in Svelte, the interactive tutorial covers both Svelte 5 and SvelteKit and is genuinely one of the best framework tutorials around.