Updated (originally published )
Static and serverless with Vue.js, Nuxt.js, Vuex, Contentful, Netlify
Update: This article was originally written for Nuxt 2, Vue 2 and Vuex. A lot has changed since: Nuxt is now on version 4 with Nitro as its server engine, Vue 3 and the Composition API are the standard, and Vuex is in maintenance mode, superseded by Pinia as Vue’s official state management library. I’ve updated the code below to current Nuxt. The architecture itself - a statically generated site, a headless CMS and a build hook to glue them together - is as valid as ever.
As a front-end developer, the rise of static site generators combined with serverless architecture is an extremely appealing way to work. While not suited to every purpose, there are a lot of reasons to love statically served sites. It can take the hassle out of managing/maintaining server infrastructure and can provide a speedy way to serve your page because you’re serving pre-rendered HTML instead of waiting for your database or API to return data. As a front-end developer do you really want to spend your time configuring how your server sends mail? Probably not. There are plenty of services and APIs that can help take care of this for you.
I’m a big fan of Vue.js and Pinia for state management. Combine this with Nuxt and you can generate a static version of your Vue application and give your users a speedy site served from HTML files.
On previous projects, I’ve used Jekyll to achieve a similar result. This can work well if the logic of your site is basic.
For the purposes of this article we’ll look at how we can make a simple blog by integrating a CMS and use a webhook to trigger an update. We’ll need to use a static file host, of which there are many. For this article, we’ll be using Netlify because it’s a great static file host and it’s super easy to work with. We’ll also need to use a CMS and what better than Contentful (seeing as it has a tasty JavaScript SDK).
To get started, you’ll need to create an account on:
- Contentful for your CMS
- Netlify for your static file hosting
Get set up with Nuxt
Make sure you have a recent LTS release of Node.js installed (Nuxt requires 22.x or newer), then scaffold a new project:
npm create nuxt@latest nuxt-demo

cd nuxt-demo

npm run dev
Visit http://localhost:3000 in your browser and you should see the Nuxt welcome screen.
Structure
Clean up
A quick note on structure: in Nuxt 4 your application code lives inside the app/ directory, so the files below (app.vue, pages/, stores/, plugins/) all sit within it.
Replace the contents of app.vue with a site title and the <NuxtPage /> component, which renders whatever lives in our pages directory:
<template>
    <div>
        <h1 class="site-title">
            <NuxtLink to="/" class="site-title__link">
                Nuxt Demo
            </NuxtLink>
        </h1>
        <NuxtPage />
    </div>
</template>
Then create a pages/index.vue file that just contains:
<template>
    <div class="container"></div>
</template>
You should now have a blank page just containing your site title.
Pinia
If you’ve worked with Vuex before, Pinia is its successor and is now Vue’s official state management library. It does away with mutations entirely - actions can write to state directly - and it plays very nicely with Nuxt via its official module. Install it:
npx nuxi@latest module add piniaThis adds the pinia and @pinia/nuxt packages and registers the module in your nuxt.config.ts. Now create a file in the stores directory called posts.js:
export const usePostsStore = defineStore('posts', {
    state: () => ({
        posts: []
    }),
    actions: {
        async getPosts() {
            // We'll fill this in shortly
        }
    }
})
Here we’re creating an empty posts array and an action which we’ll fill later with data from Contentful. Notice there’s no import for defineStore - the Pinia module auto-imports it, along with any stores in this directory.
Integrating Contentful
Contentful CMS Setup
Login to Contentful and create a new space. When you’re in the space, create a new Content model called Blog Post with an API identifier of blogPost. Add four fields to it:
- Text (Short text) with the name of Title and the field ID of title
- Text (Short text) with the name of Slug and the field ID of slug
- Text (Short text) with the name of Description and the field ID of description
- Text (Long text) with the name of Content and the field ID of content
Save this configuration, navigate to Content, add a new Entry with our new content model, fill it out with dummy data and hit Publish.
SDK Integration & Environment Management
Contentful has a JavaScript SDK which is what we’ll be using to fetch our post data. Add it to the project:
npm install contentfulNuxt reads .env files out of the box these days - no extra module required - and exposes values to your app through runtime config. Create a new file in the root of our project with the filename .env. This is where we’ll store our API keys. Add this file to your list of gitignored files to ensure these are not pushed to your git repo. Have your Space ID (Settings > General Settings) ready and add a new Content Delivery Access Token (Settings > API Keys). In the .env file, assign them:
CTF_SPACE_ID=YOUR_SPACE_ID
CTF_CD_ACCESS_TOKEN=YOUR_ACCESS_TOKEN
Wire these up in nuxt.config.ts. The Content Delivery token is read-only and designed to be used in the browser, so it’s fine to expose it under public:
export default defineNuxtConfig({
    modules: ['@pinia/nuxt'],
    runtimeConfig: {
        public: {
            ctfSpaceId: process.env.CTF_SPACE_ID,
            ctfCdAccessToken: process.env.CTF_CD_ACCESS_TOKEN
        }
    }
})
Create a new file in the plugins directory called contentful.js and initialise the Contentful client with our keys, providing it to the rest of the app:
import { createClient } from 'contentful'

export default defineNuxtPlugin(() => {
    const config = useRuntimeConfig()

    return {
        provide: {
            contentful: createClient({
                space: config.public.ctfSpaceId,
                accessToken: config.public.ctfCdAccessToken
            })
        }
    }
})
Getting our first posts
In our pages/index.vue file, we’ll pull the posts out of our store and call our action to fetch the data. callOnce ensures the fetch runs once during server rendering (or static generation) without being repeated in the browser:
<script setup>
const store = usePostsStore()
const { posts } = storeToRefs(store)

await callOnce('posts', () => store.getPosts())
</script>
Notice how we don’t need to import the store, storeToRefs or callOnce? Thanks Nuxt.
Next, fill out the getPosts action in stores/posts.js. Our plugin made the client available as $contentful, so we can grab it from the Nuxt app and use Contentful’s getEntries method to fetch our data:
async getPosts() {
    const { $contentful } = useNuxtApp()

    const response = await $contentful.getEntries({
        content_type: 'blogPost'
    })

    if (response.items.length > 0) {
        this.posts = response.items
    }
}
After the getEntries method we’re assigning the response of our API directly to the store’s state - no mutations necessary with Pinia.
We should now have our posts in the store so we just need to display the data. Navigate to pages/index.vue and edit our container div:
<div class="container">
<h2>Latest posts</h2>
<ul>
<li v-for="post in posts" :key="post.sys.id">
<NuxtLink :to="`/${post.fields.slug}`">{{ post.fields.title }}</NuxtLink>
</li>
</ul>
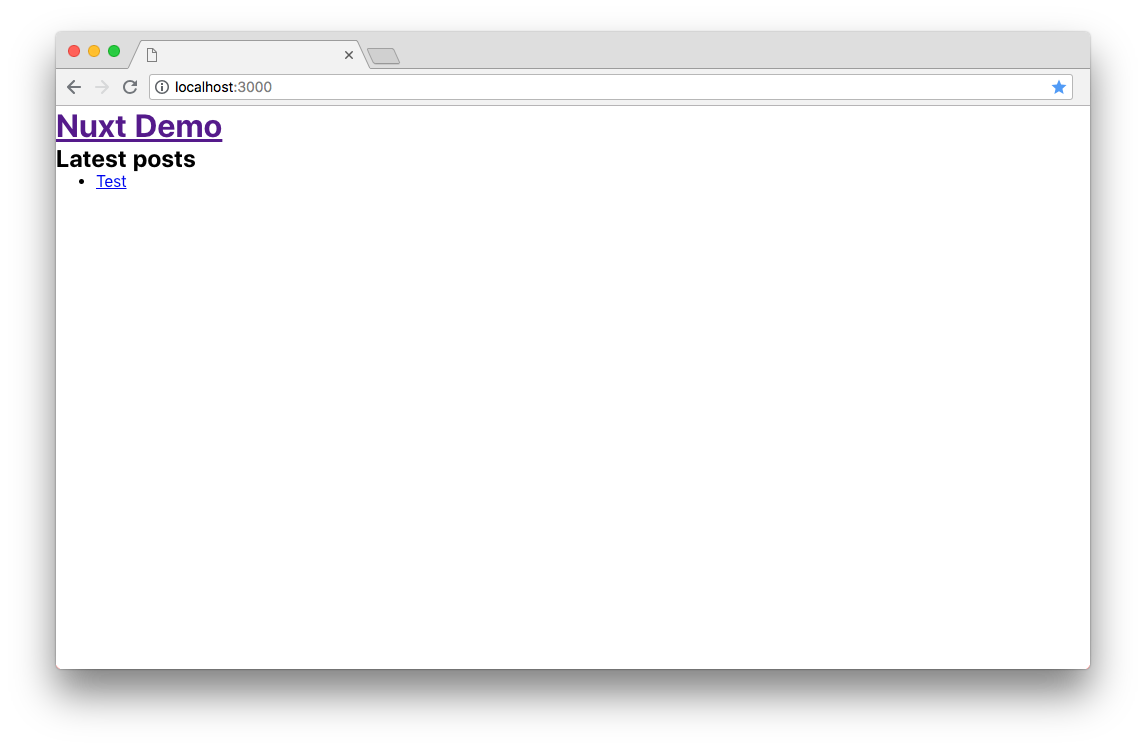
</div>We’re looping through the posts array and using the NuxtLink (which is the same as router-link if you’ve used Vue Router before) component to create a link to a single post which we’ll setup in next.
Visit the site in your browser and you should see something like this:
Dynamic routing for our single post view
We need to set up a template for our single post. Because we won’t want to create static files for each post, we’ll need to create a dynamic template to house these posts. Create a new template called [slug].vue in the pages directory (square brackets are how Nuxt marks a dynamic route parameter these days, where Nuxt 2 used an underscore) and add the following code for now:
<template>
    <div class="single-post"></div>
</template>
Our route will now work but won’t display anything. Let’s configure this page with Vue and flow the data down into this template making sure we’re inline with the principle of separation of concerns.
Create a new store stores/post.js and structure it in a similar way to our posts, this time with an action that gets data for our page from the slug field:
export const usePostStore = defineStore('post', {
    state: () => ({
        currentPost: null
    }),
    actions: {
        async getPostBySlug(slug) {
            const { $contentful } = useNuxtApp()

            const response = await $contentful.getEntries({
                content_type: 'blogPost',
                'fields.slug': slug,
                limit: 1
            })

            this.currentPost = response.items[0]
        }
    }
})
This should look familiar. Once we’ve found a match, we’ll assign the store’s currentPost to the first match from our search.
In the original version of this article I tracked an isLoading boolean by hand to show a loading message. We don’t need it any more: because the data is fetched on the server (or at generate time) before the page is rendered, the user never sees a half-loaded page.
Now we just need to flow this data down into our [slug].vue template. Add a script block to the top of the file to wire up the store and trigger the fetch, reading the slug from the route params:
<script setup>
const route = useRoute()
const store = usePostStore()
const { currentPost } = storeToRefs(store)

await callOnce(`post-${route.params.slug}`, () => store.getPostBySlug(route.params.slug))
</script>
It’s worth reading Contentful’s data model to understand how the data we receive from Contentful is structured. To display the content on the page we’ll be using the fields object. Here’s how the markup will look:
<div class="single-post">
    <div v-if="currentPost" class="single-post__article">
        <h1 class="single-post__title">
            {{ currentPost.fields.title }}
        </h1>
        <div class="single-post__content">
            {{ currentPost.fields.content }}
        </div>
    </div>
</div>
Have a look at the page in your browser and you should see content for your single post.
If you’ve added any markdown elements in your content, you may notice that they aren’t rendered as HTML. You’ll need to use a package to do so. Add markdown-it:
npm install markdown-itImport and initialise it in the script block of [slug].vue:
import MarkdownIt from 'markdown-it'

const md = new MarkdownIt()
Now parse the content by replacing our pre-existing single-post__content div with the following:
<div class="single-post__content" v-html="md.render(currentPost.fields.content)"></div>Your content should now display as HTML.
Statically generating our site
This is the bit that’s become dramatically simpler since I first wrote this article. Run:
npm run generateNuxt hands over to Nitro, which builds the app, stands up an instance of it and crawls your site: it pre-renders the homepage, follows every link it finds (including the NuxtLinks to our posts) and writes each route out as a static HTML file. In Nuxt 2 we had to write a generate.routes function that queried Contentful a second time just to tell Nuxt which dynamic routes existed - because our index page links to every post, the crawler now discovers them for free.
If you do have routes that aren’t linked from anywhere, you can declare them explicitly in nuxt.config.ts:
export default defineNuxtConfig({
    nitro: {
        prerender: {
            routes: ['/some-unlinked-page']
        }
    }
})
The generated site ends up in .output/public (Nuxt also leaves a dist symlink in the project root pointing at it). You can read more in the Nuxt prerendering docs.
Deploying to Netlify
Firstly, make sure you’ve pushed your project to GitHub (or GitLab/Bitbucket) and then on Netlify add a new project from your Git repository. Set the build command to npm run generate and the publish directory to dist. Before you deploy, add the keys and values from your .env file as environment variables. When you’re ready, hit ‘Deploy’.
Wait a few minutes while Netlify pulls down the packages it needs to deploy your site and runs the generate command. Once the deployment is successfully complete it will generate a domain for you and you should be able to view your site.
By default, Netlify will build and update your site if you push any changes to the branch you picked to deploy from but this doesn’t solve the issue of triggering a change if we post something new to Contentful.
Netlify build hook
To trigger a change from Contentful we can use Netlify’s build hooks. Navigate to ‘Project configuration’, then ‘Build & deploy’ > ‘Continuous deployment’ > ‘Build hooks’ in the Netlify control panel and click ‘Add build hook’, name it and save it. Netlify should have generated you a build hook URL which can be used in Contentful to trigger a build.
In your Contentful admin panel, go to ‘Settings’, ‘Webhooks’ and add a new one. Call it something like ‘Deploy to Netlify’, paste in the build hook URL from Netlify into the URL field. Next, select ‘Only Selected Events’ under the ‘Trigger this webhook for:’ option, configure which events you want to trigger a build with and hit save.
If you navigate back to Netlify, you should see your deployment building on the ‘Deploys’ page. Once it’s finished you should see PUBLISHED status message next to the deployment. Check your Netlify generated URL and you should see your new post.
Wrapping it up
You should now have a basic statically generated blog page with dynamic single post routing. The code from the original version of this article lives in this nuxt-contentful-demo Github repository (bear in mind it was written against Nuxt 2, so it predates the update to this post). To extend the learnings in this article further I recommend reading:
- The Contentful JavaScript SDK docs
- The Nuxt docs
- The Pinia docs